We’re full steam ahead into summer and when beachy waves just aren’t good enough anymore, there’s an easy fix to help us live our best mermaid lives—a shell mermaid crown.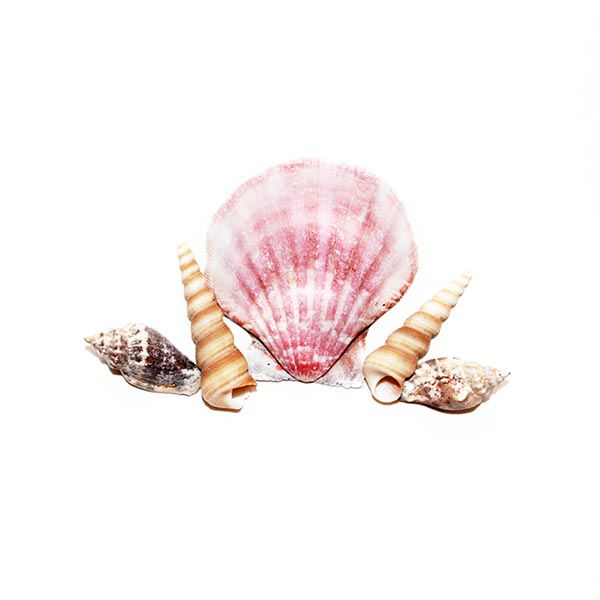
Step1: Gather Your Supplies
Creating a mermaid shell crown only takes a few mermazing supplies, which, thankfully, you can get at any craft store or more dollar stores.
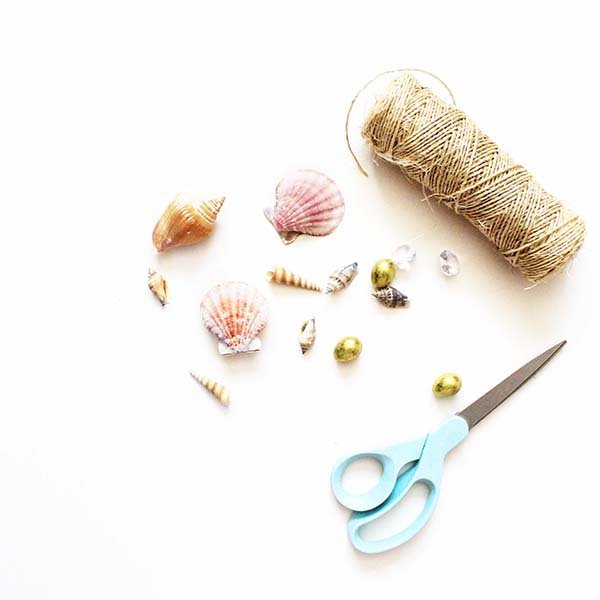
Shells can be found at Dollar Tree for $1 per bag, but you can also pick some up in the floral section of Walmart.
You’ll need thicker twine to use as your tiebacks, but if you don’t have thick twine, try braiding smaller twine together until your happy with how thick it is.
You’re going to need a piece of felt, which you can find at any craft store, or in the craft section of Walmart.
Lastly, make sure you have a good hot glue gun and a few extra glue sticks.
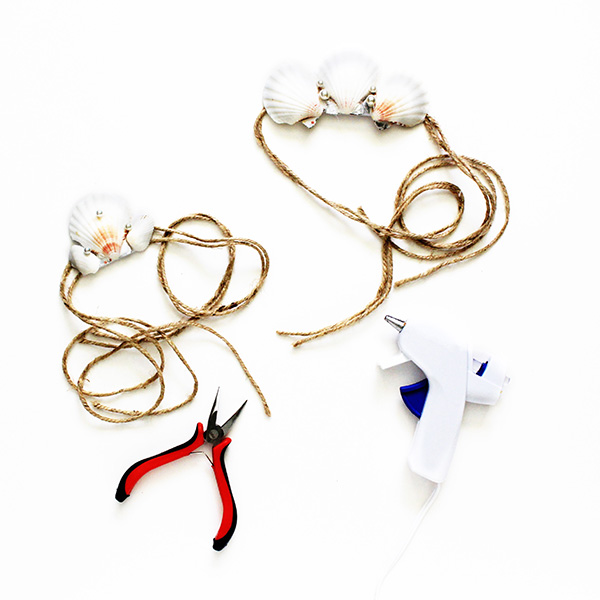
As an added bonus, you can pick up little extras to add onto your design, whether you choose fake pearls, gold or silver beads, or, if you’re like me, you can rip apart cheap jewelry and repurpose it on your crown.
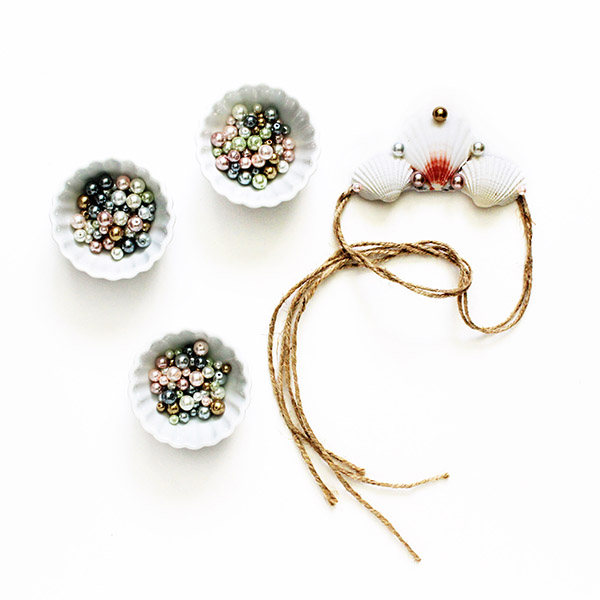
Step 2: Assemble Your Crown
The first thing you need to do is measure your tiebacks. Using the twine, wrap it around your head so that it sits comfortably on your forehead. Make sure to leave enough room to tie it securely. (Pro tip: be careful that you don’t tie your hair in it).
Once you’ve measured and cut your twine, find the middle of it and make sure to keep a finger there while laying out your tieback. You’ll need it momentarily. You can set a shell on the spot to mark it if you need to.
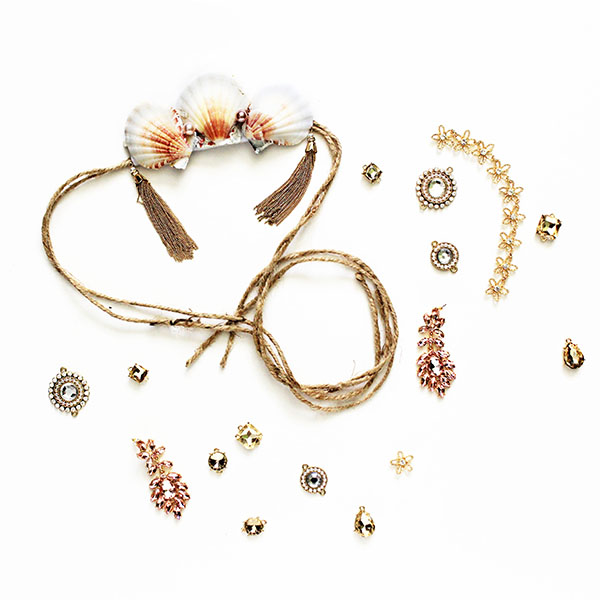
Moving away from your twine, lay out the shells you want to use on your crown. Your objective is to overlap the shells slightly, while keeping them arranged in a way that’s still mostly flat so it will rest comfortably on your forehead.
Once you’ve arranged the pieces, cut a piece of felt to match the approximate shape of your shell outline. Pro tip: fold the felt over so it’s a double layer. You can set the twine inside before hot gluing it shut, which will help keep your crown in place.
After your felt and twine are connected, use your hot glue to place each seashell in the correct position on your felt. Allow each piece a moment to dry before adding too many others.
If you’re happy with your shells like they are, congratulations—you’re finished! If you want to add a few baubles, try placing your pearls, jewels, chains, etc. on your crown first to make sure you like the positions before hot gluing them on. Once you’re happy, attach your shiny pieces to your crown.
Test your crown to make sure it’s comfortable to wear and make adjustments where needed. If anything falls off in the future, simply hot glue it back on.
Good news—you have extra pieces left over, don’t you? Now you can make a second crown and experiment with shapes and baubles! In fact, you could even make a crown for every day of the week!
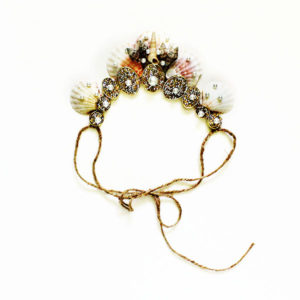
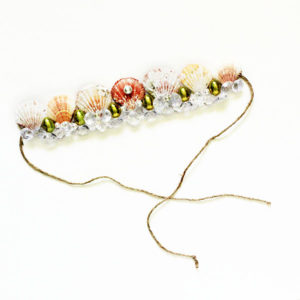
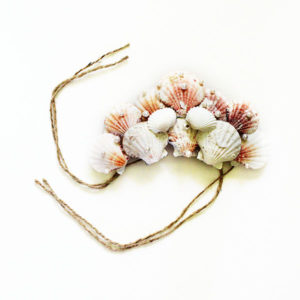
Step 3: Use Your Crown
Now that you have your shell crowns, it’s time to show them off. Wear them to a poolside party, while taking selfies at the beach, or while grocery shopping…there’s no stopping you, fabulous mermaid!
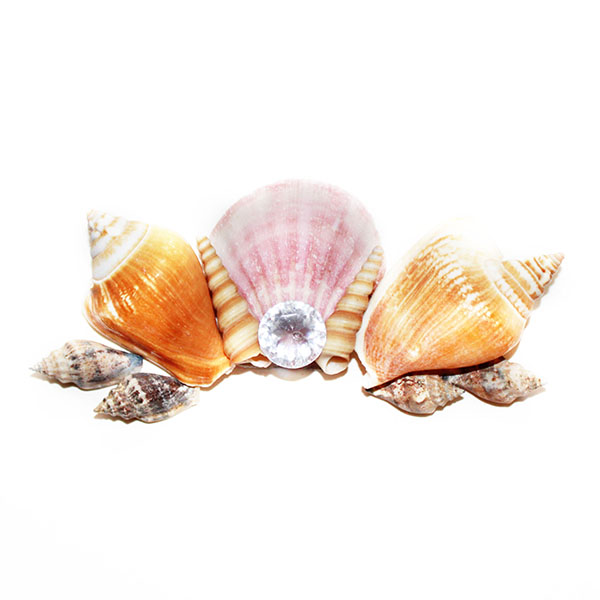
Check out how the crowns pictured here were used in the photo shoots for the Siren Wars Saga covers!



Share Your Mermaid Crown with Us
Remember, if there are no photos, then it didn’t happen, so make sure you take lots of pictures for social media and tag @finfunmermaid to let us know you’re missing your tails while you’re out and about in town.
How do YOU plan on showing off your new mermaid shell crown? Let us know in the comments below and if you tag us in photos on social media, you might just see your image featured in our IG Stories!
 Imagery by K.M. Robinson Photography
K.M. Robinson is the author of The Siren Wars Saga, as well as several other best- selling young adult fairytale retelling and sci-fi book series. She spends her time creating couture dresses and accessories for her photography clients, including shell crowns and sea couture. She lives her best mermaid life with her super long mermaid hair while helping her students as they grow their businesses through social media by creating engaging content that fans love! She firmly believes she should be a warm water mermaid and has no business living above the sea.
www.facebook.com/kmrobinsonbooks
www.instagram.com/kmrobinsonbooks
www.twitter.com/kmrobinsonbooks


Absolutely beautiful crowns! I’m going to have to try my hand at this. 😊
You absolutely should—they’re so much fun to make (and you can get really creative with them!) Can’t wait to see what you’re going to make!
These are so beautiful! I’m going to have to grab supplies while I’m at the craft store tomorrow!
That’s a great idea! Don’t forget to pick up a few sparkly things too…mermaids love shiny!
I love this! I thought mermaid crowns were expensive, but I’m so happy there’s a way to get something beautiful at a reasonable price. And those pictures are stunning, I thoroughly enjoyed the visuals in each step!
Right? Until I started making them for my models to wear at their photo shoots, I could only ever find really expensive ones on Etsy, but this is a great way to customize them and keep the price down…just requires a little hot glue! Thanks for the photo love too!
These are sooooo pretty! And perfect for summer! I can’t wait to try making my own!
Thanks so much, Julie! I agree, they really are perfect for summer! I’m totally wearing one to a pool party I’m going to this weekend! Pool parties are the best place to wear shell crowns, right?
I absolutely love these creative crowns! They are so gorgeous and look amazing and fun to wear. I bought a mermaid tail from Fin Fun for my little stepsister and I will have to make one of these to go with her tail! Thanks for sharing this cute little idea with us!